
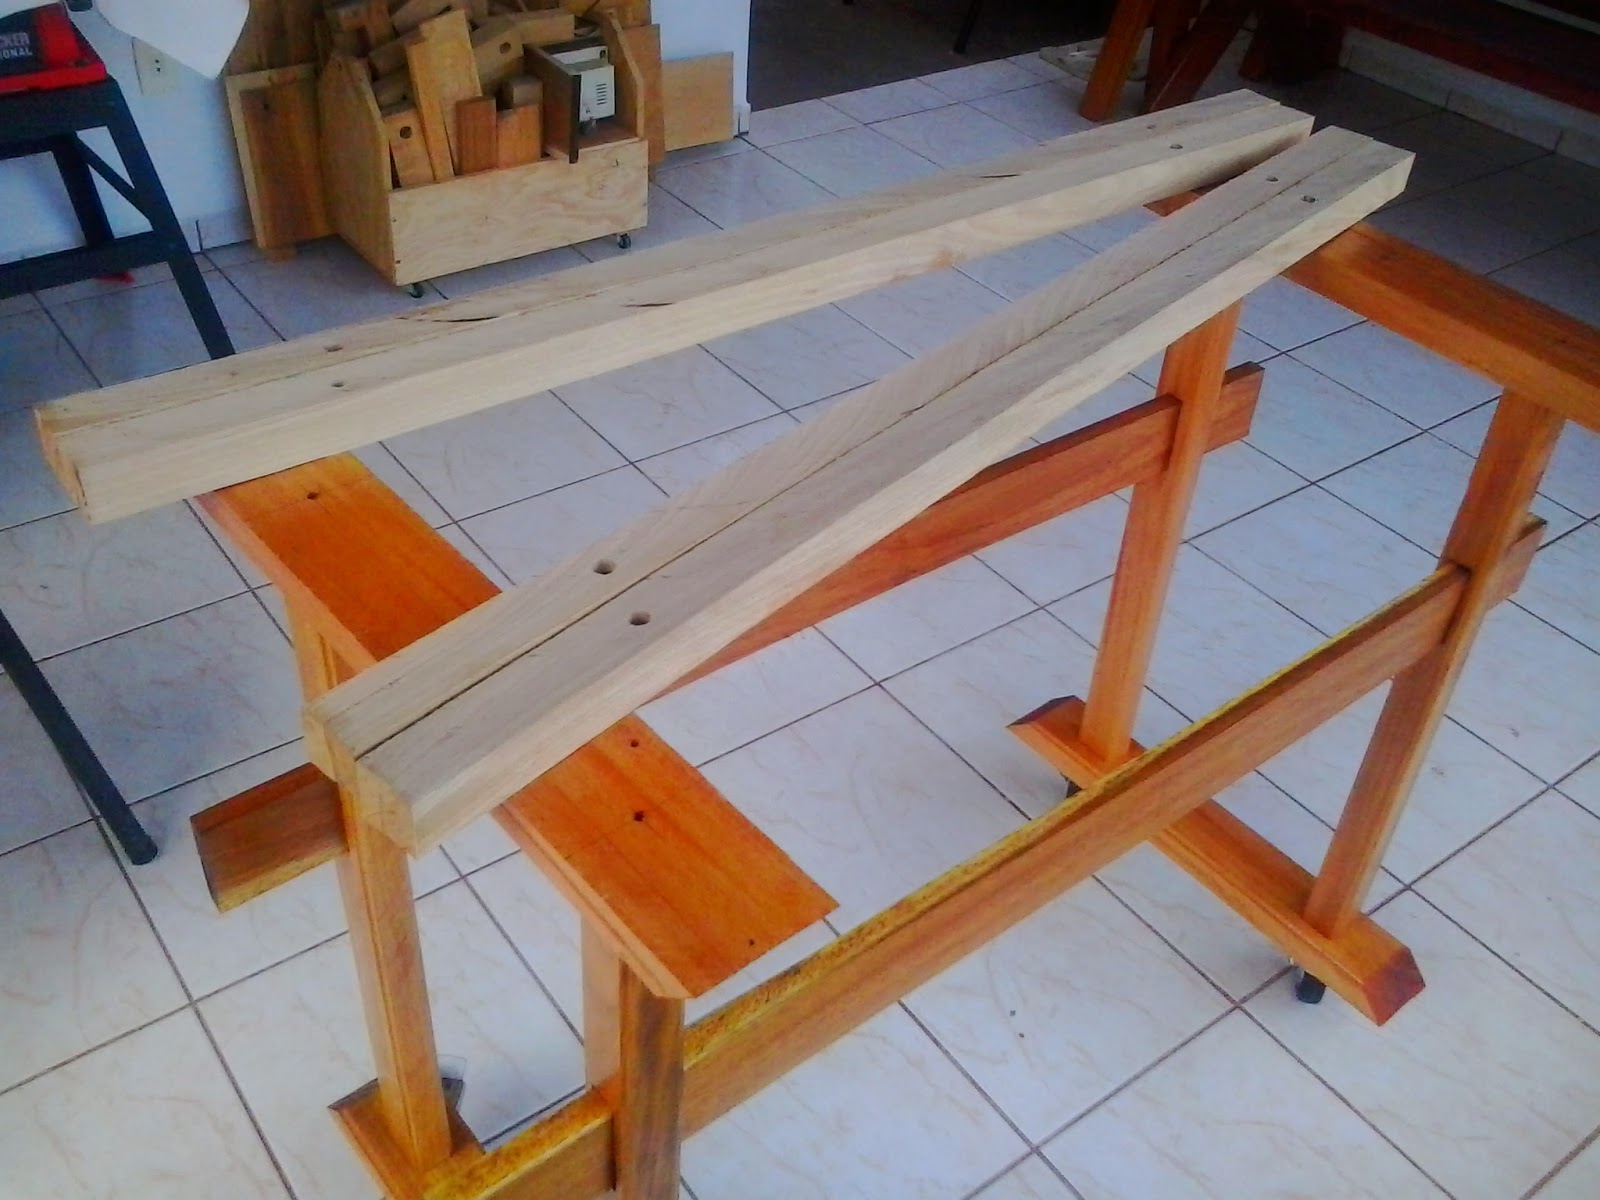
Veja como ficou a estrutura das pernas da bancada.

Conforme o desenho que observaram no post anterior, as pernas são construídas em duas parte com encaixe nas pontas para evitar que saia do esquadro.
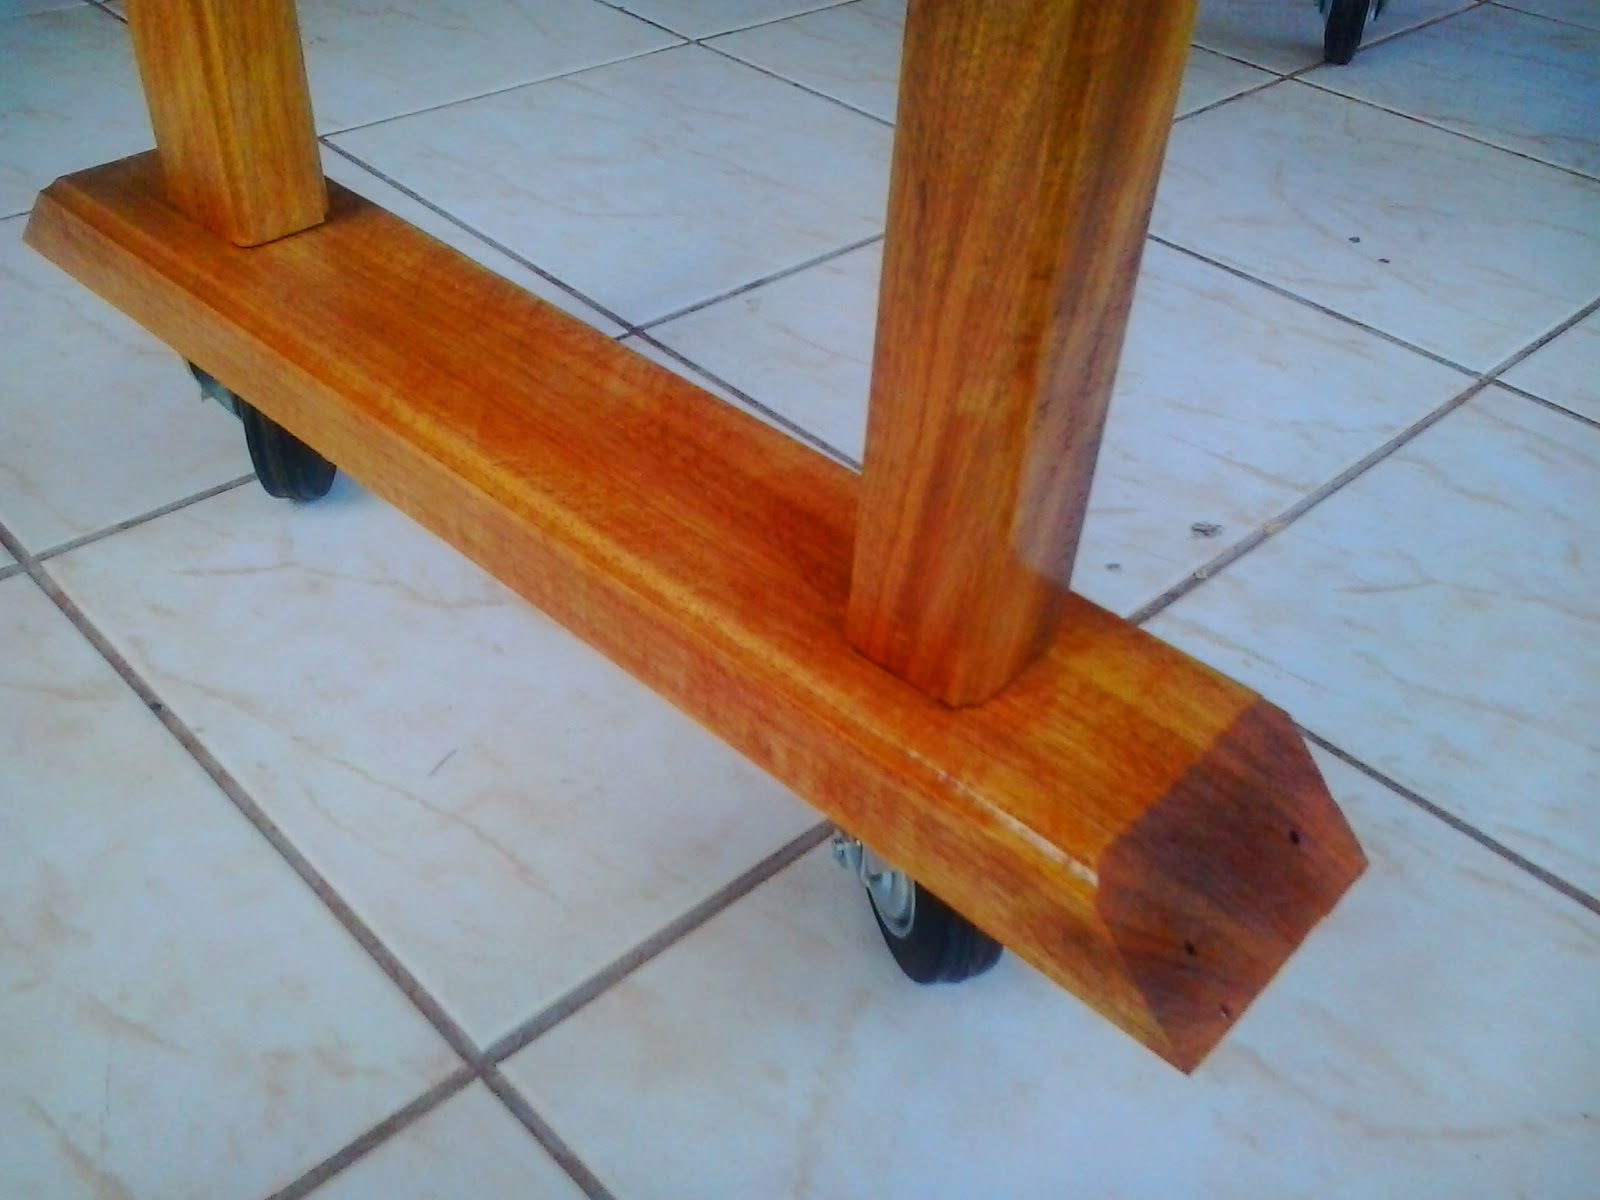
Na base de baixo adicionei a opção de colocar rodízios tamanho médio para que tenha força de receber impacto e deslocar o peso da bancada.


Entre as duas partes das pernas coloquei duas travessas para amarrar e completar a estrutura da bancada.
Agora partiremos para o tampo que é constituído de 10 unidades de caibro 40 x 40 mm que deverão ser, aparelhados, plainados, lixados com duas lixas grão 180 e 220 e passado Seladora, lixando a cada demão com lixa grão 320 para massa, precisa de 2 demãos. Após isso, cera de carnaúba e polimento com flanela.

No final do tampo espero encontrar um aspecto polido e vitrificado.
Neste tampo eu também programei colocar um cocho para ferramentas que estão em uso, no passado eu achava que isso não tinha importância, mas quando ao balançar a mesa que estava trabalhando e derrubar um formão no chão, eu percebi a importância de ter o cocho, a lamina do formão parecia a boca de mendigo veio, todo quebrado.

Ai você pode ver o espaço que deixei para fazer o cocho.

Nesta foto não poderia deixar de aparecer minha companheira de marcenaria, a Lilika! Presta atenção em tudo que eu faço.
Se você não pegou o desenho do projeto no post passado, clique Bancada de Marceneiro Simplificada , Lembre-se de que está criado no programa Sketchup, você precisa ter instalado em sua maquina para visualizar.
See how was the structure of the legs of the bench .
As the drawing that observed in the previous post , the legs are constructed in two parts with fitting ends to prevent the skirt square .
On the basis of low added the option of putting casters medium size so you have power to receive impact and shift the weight bench .
Between the two parts of the legs put two sleepers to tie and complete structure of the bench .
Now we depart for the top consisting of 10 units of rafter 40 x 40 mm which shall be rigged , plainados , sanded with 180 grit sandpaper and two 220 and spent Sealer , sanding each coat with 320 grit sandpaper to mass needs 2 coats . After that, carnauba wax and polishing cloth.
At the end of the soundboard hopefully find a polished and glazed appearance.
I also topped this programmed put a trough for tools that are in use in the past I thought it did not matter , but when rocking the table that was working a chisel and knock down, I realized the importance of having the trough , the blade chisel seemed to mouth a beggar came , all broken .
Than you can see the space left to the trough .
In this photo could not fail to show my mate joinery , the Lilika ! Pays attention to everything I do .
If you did not get the project design in the past post , click Bench Joiner Simplified , Remember that you are created in Sketchup program, you need to have installed on your machine to view .
Nenhum comentário:
Postar um comentário